Total Splenectomy
Daniel D. Smeak, DVM, DACVS, Colorado State University
Splenectomy is most often performed in dogs and cats to treat splenic neoplasia, rupture, or torsion. Less commonly, it is performed due to abscesses or in select patients with systemic mastocystosis (cats) or massive splenomegaly from lymphoma or leukemia. Partial splenectomy (splenorrhapy), or removal of a portion of the spleen, and suture repair of isolated parenchymal lacerations can be done successfully; however, total splenectomy offers more reliable control of hemorrhage.
Splenectomy is generally contraindicated in patients with immune-mediated hematologic disorders, except when appropriate medical therapy has failed. It is avoided if possible in patients with bone marrow aplasia or hypoplasia, since the spleen may be the most important hematopoietic organ in these patients.
While the technique of splenectomy is straightforward, affected patients are often in critical condition. Appropriate fluid therapy, including supplemental colloids and blood products, if necessary, must be employed to ensure hemodynamic stability before surgery. Cardiac rhythm disturbances are common in dogs with surgical diseases of the spleen, and this must be considered when formulating an anesthetic plan and during postoperative monitoring.
Anatomy & Ligation
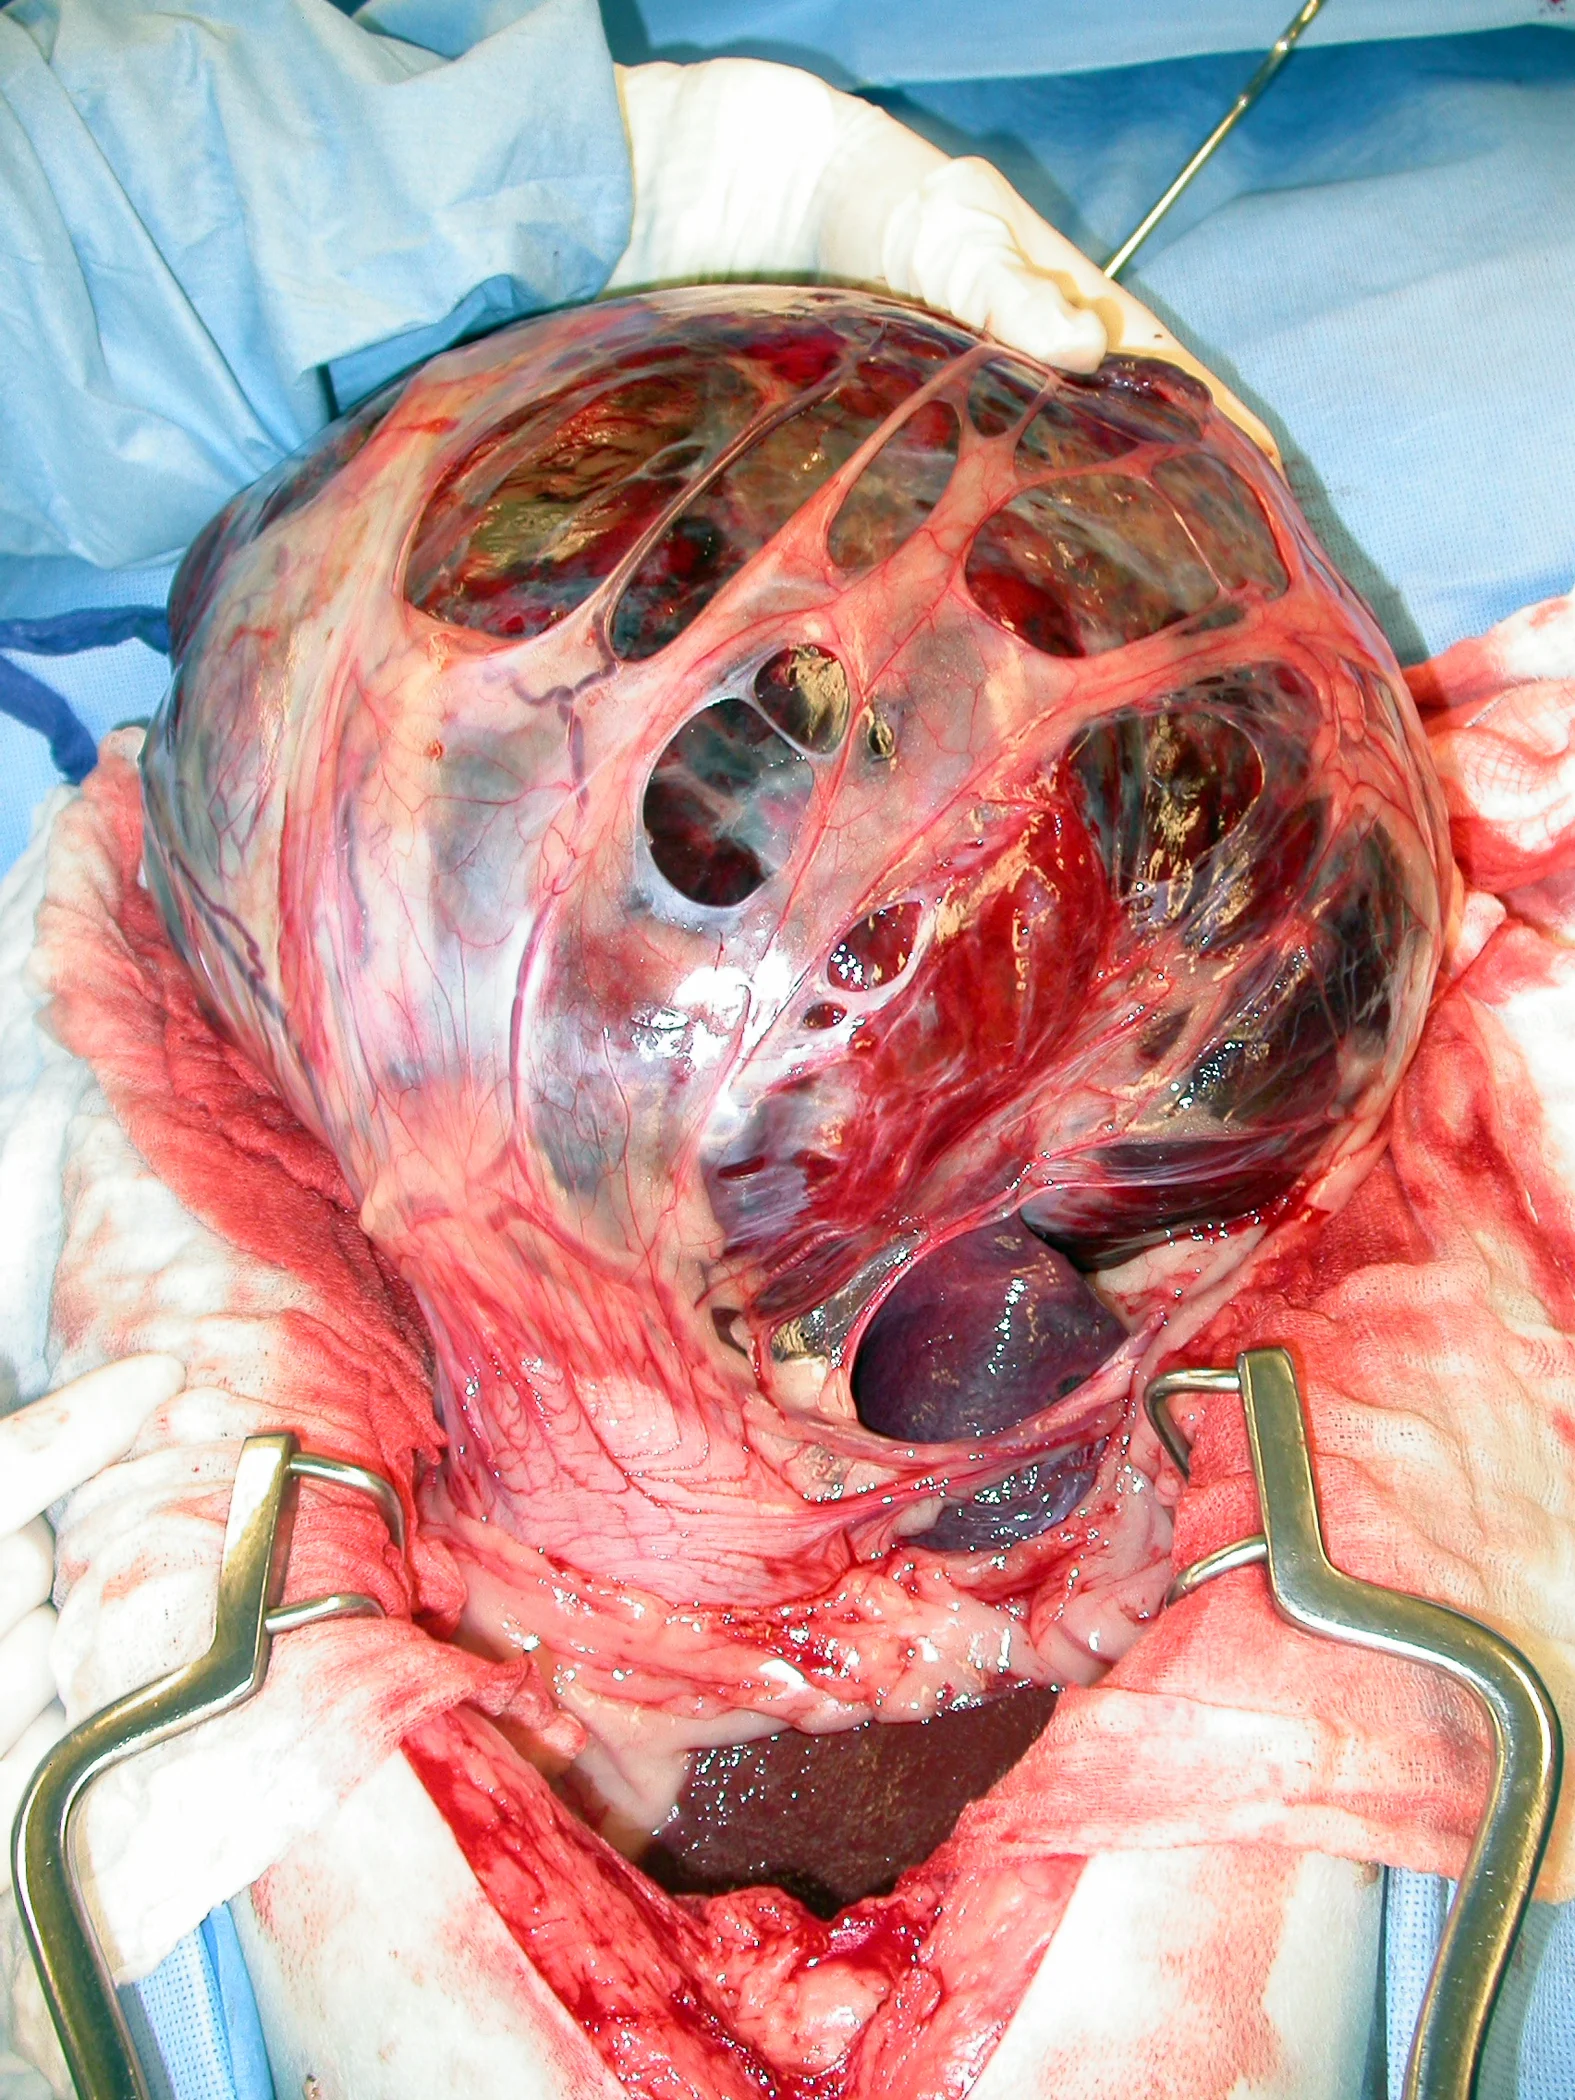
Three to 5 long, rather consistent primary blood vessel divisions of the splenic artery are the most important vascular structures to know before considering splenectomy (Figure 1). The most common textbook description for splenectomy includes individual ligation of short branches of the splenic artery and vein, preserving the left gastroepiploic artery and short gastric arteries, to maintain adequate gastric perfusion. In an experiment by Hosgood using healthy mixed-breed dogs, splenic and short gastric artery ligation during splenectomy did not compromise blood flow or the integrity of the stomach wall. Therefore, most surgeons are not concerned about ligation of these vessels, provided the stomach wall is not compromised. In conditions known to adversely affect gastric blood supply, such as acute gastric dilatation-volvulus, preservation of existing gastric perfusion during splenectomy is an important goal.

Diagram showing splenic arterial supply and 4 proposed ligation areas (blue lines).
Step-by-Step: Total Splenectomy
What You Will Need
Standard general surgery pack, including needle holders, thumb forceps, mosquito forceps, Mayo and Metzenbaum scissors
Suture for ligation (generally 0 to 2-0 size, depending on patient and pedicle size)
4 to 8 large Carmalt hemo-static forceps
Balfour retractor
Abdominal laparotomy sponges
Suction device and Poole suction tube
Many methods can be used for splenectomy. Individual or small numbers of terminal splenic branches can be ligated or stapled; however, this can be tedious and time-consuming, more dissection is involved, and the many ligations could become a source of hemorrhage after surgery. Described here is an en masse ligation technique (usually completed with only 4 pedicle ligations)-a modification of Hosgood's description that preserves the left gastroepiploic artery. The technique is efficient and, in my opinion, seems to be as safe as the terminal branch ligation technique.
Step 1
Perform a large ventral midline celiotomy from the xiphoid, extending caudal to the umbilicus to enable complete abdominal exploration. Do not attempt to remove the spleen through a more limited approach. This can cause unnecessary blood loss and dissemination of necrotic debris and neoplastic cells into the peritoneum if a friable lesion ruptures.
Step 2
Cover edges of the abdominal incision with laparotomy sponges. Insert a Balfour retractor to help expose the abdominal viscera. Use additional moistened sponges to isolate the spleen and cover exposed viscera.
Step 3
Perform a complete exploratory procedure and examine the spleen. If the spleen has ruptured (actively hemorrhaging) or has reached a substantial size and obstructs complete exploration, perform splenectomy first and explore the remaining abdominal viscera afterward. Suction free fluid and debris from the abdomen to help expose the abdominal viscera for exploration. If splenic neoplasia is suspected, examine the regional lymph nodes and liver particularly thoroughly.
Step 4
Clamp, excise, and ligate any adhesions to the splenic lesion before attempting to isolate the pedicle.
Step 5
Lift the stomach fundus out of the abdomen to expose the short gastric vessels tethered dorsally to the head of the spleen. From a cranial-to-caudal direction, loop an index finger around the tethering vessel group and bluntly punch a hole through an avascular area of the gastro-splenic ligament. The middle and index fingers are shown isolating the short gastric pedicle in a dog cadaver.

Step 6
Cross-clamp and incise the short gastric vessels to release the head of the spleen (see Three-Clamp Ligation Technique). Releasing the short gastric vessels is performed first because the remaining attached pedicle is long and the entire spleen can be easily laid outside the abdomen for pedicle isolation after this maneuver. The figure shows the short gastric pedicle incised between forceps #2 and 3, freeing the tethered head of the spleen. Ensure that no stomach wall is accidentally incorporated in the clamped pedicles of the spleen.

Step 7
When the splenic hilus is not involved in the disease process and the stomach vasculature is to be preserved, break open the gastrosplenic ligament in an avascular area. Find the junction of the splenic artery and left gastroepiploic vessel; stay distal to this area during isolation of the final 3 pedicles listed below. In this figure, the splenic pedicle is viewed through a rent created in the omentum. The forceps point to the juncture of the main splenic artery, the main splenic branch (MSB), and the left gastroepiploic artery (LGE) coursing along the greater curvature of the stomach.

Step 8
The final 3 pedicles are isolated with the index finger, cross-clamped, and incised in the following order (refer to Figure 1): · Dorsal artery branch (Sometimes there are 2; be careful to preserve the left gastric epiploic artery located close to this branch.) · Main splenic artery terminating in the mid portion of the spleen · Caudal (omental) branch coursing along the tail of the spleen to the greater omentum.
Procedure Pearl
If the spleen is friable or ruptured, do not grasp or pull it from the abdomen, simply push the abdominal wall edges down (dorsally) and allow the spleen to "spill out" of the incision.
Step 9
Remove the spleen with the associated forceps still attached to the pedicles and submit for biopsy. The figure shows a completed splenectomy showing 4 clamped pedicles (forceps #3) on the spleen.
Procedure Pearl
Time-saving measures:
Double ligate only the blood vessels (pedicles) remaining with the patient; clamps are left with the cut pedicles attached to the spleen.
Ligate the series of securely clamped vessels after all pedicles are isolated and clamped and the spleen has been removed.
Procedure Pearl
Secure ligatures are tight, knotted appropriately, and are ideally placed several millimeters or more from the cut pedicle edge to allow tissue to "mushroom" and help prevent ligature slippage.

Step 10
Securely double-ligate the pedicles and remove the forceps. Ligatures are ideally placed several millimeters or more from the cut pedicle edge to allow tissue to "mushroom" and help prevent ligature slippage. In A, a ligature is shown encircling the short gastric artery pedicle just below forceps #1. Notice the deformed "spread out" pedicle that will not allow a tight ligature to be formed if the forceps is not released. In B, the pedicle is constricted after the forceps is removed and the ligature tightened within the previously crushed area.


Step 11
Carefully inspect en masse ligations for hemorrhage. Pedicles with evidence of blood seepage should be religated securely. If you have not completed the exploratory surgery, do this now. Perform a biopsy of suspicious lesions when applicable. Account for all sponges, and close the abdomen routinely.
Characteristics of Secure Pedicle Ligation
Tight ligature
Tight knots with 4 square throws
Cuff of pedicle extends past ligation site; if this is not possible, transfix the distal most ligature
No tension is placed on pedicle during clamping or ligation
Critical pedicles are double-ligated
Three-Clamp Ligation Technique

STEP A
Stack 3 crushing forceps (Carmalts) on the pedicle starting at the deepest aspect (during splenectomy the first clamp is closest to the stomach wall). The pedicle is severed between forceps #2 and 3 (dashed line).
Procedure Pearl
During 3-clamp ligation, if a ligature is set close to a hemostatic forceps, the forceps should be "flashed" (or released) to eliminate distortion of the clamped tissue, which may not allow complete occlusion of the blood supply. The surgeon must then retighten the first throw of the ligature before proceeding with at least three more square knot throws.
Additional Technique Details for Splenic Disorders
Neoplasia
Omentum adhering to splenic masses can harbor a substantial number of vessels that require ligation (Figure 2). Ligate and remove these adhesions well away from the mass first before attempting pedicle ligation. It is acceptable to ligate any main splenic branches attached to, or encompassed within, the tumor to help ensure removal of all gross evidence of neoplasia, as long as adequate collateral gastric blood supply is available.

Torsion
Avoid the temptation to untwist the pedicle, even though it facilitates ligation of vessels to the spleen in cases of torsion (Figure 3). It can release thrombi and vasoactive compounds into the circulation, causing significant hemodynamic disturbance. Divide the distal pedicle into several en masse ligations, or attempt to partially untwist just enough of the pedicle distal to the pancreas to help isolate the main splenic vessel divisions for ligation. Once the pedicles have been clamped and the spleen removed, completely untwist the proximal aspect to release the pancreas. If the pancreas appears compromised, perform a partial pancreatectomy.

Gastric Dilatation-Volvulus
The gastric wall is often compromised to some degree when splenectomy is required during surgery for GDV. Therefore, attempt to preserve the left gastroepiploic vessel when removing a compromised spleen during surgical treatment of acute GDV. Pay particular attention to the area of the gastric fundus to which the short gastric vessels normally attach-these vessels are often found avulsed and are a significant source of hemorrhage that require ligation.
Procedure Pearl
Immunocompromised patients and those with preexisting infection should receive intravenous bactericidal antibiotics during surgery.
Postoperative Monitoring & Care
Immediate complications following splenectomy include hemorrhage, pancreatic compromise, and cardiac arrhythmia. Hemorrhage, the most common cause for early postoperative death, usually results from failure to ligate blood vessels securely. Later complications include increased risk for sepsis and emergence of a latent parasitic or bacterial infection. While the utility of prophylactic antibiotics during splenectomy has been debated, certainly immunocompromised patients and those with preexisting infection should receive intravenous bactericidal antibiotics during surgery.