Vacuum-Assisted Wound Closure
Karen M. Tobias, DVM, MS, DACVS, University of Tennessee
Rebecca T. Hodshon, DVM, University of Tennessee Veterinary Medical Center
Patricia A. Sura, DVM, MS, DACVS, University of Tennessee Veterinary Medical Center
This is the third installment of The Essential Wound Care Series, which provides expert tips and techniques for managing both basic wound care and specific wound challenges.
Vacuum-assisted closure (VAC) is a noninvasive, active, closed wound management system that exposes the wound bed to local subatmospheric pressure.
Also referred to as negative-pressure wound therapy, VAC is used to stimulate granulation tissue formation, reduce interstitial edema and inflammatory cytokines, and improve circulation while maintaining a moist wound-healing environment.
Few published veterinary studies describe VAC wound care, although animal models were used to validate its efficacy in humans. In humans, VAC therapy is used extensively to treat chronic nonhealing wounds (eg, diabetic ulcers), burns, open fractures, abdominal compartment syndrome, and median sternotomy wounds.
Indications & Contraindications
Indications for VAC in animals include treatment of large, open, contaminated wounds; dehisced surgical wounds with or without exposed orthopedic implants or bones; degloving injuries and skin avulsions; chronic nonhealing wounds; and compartment syndrome (eg, abdominal/myofascial).
VAC wound care has also been used to prevent postoperative seroma or edema and enhance skin graft reepithelialization. With this therapy, wound size and volume are reduced, skin graft acceptance enhanced, response to antibiotic therapy improved, and duration of open wound management reduced (ultimately reducing hospitalization time and number of bandage changes).
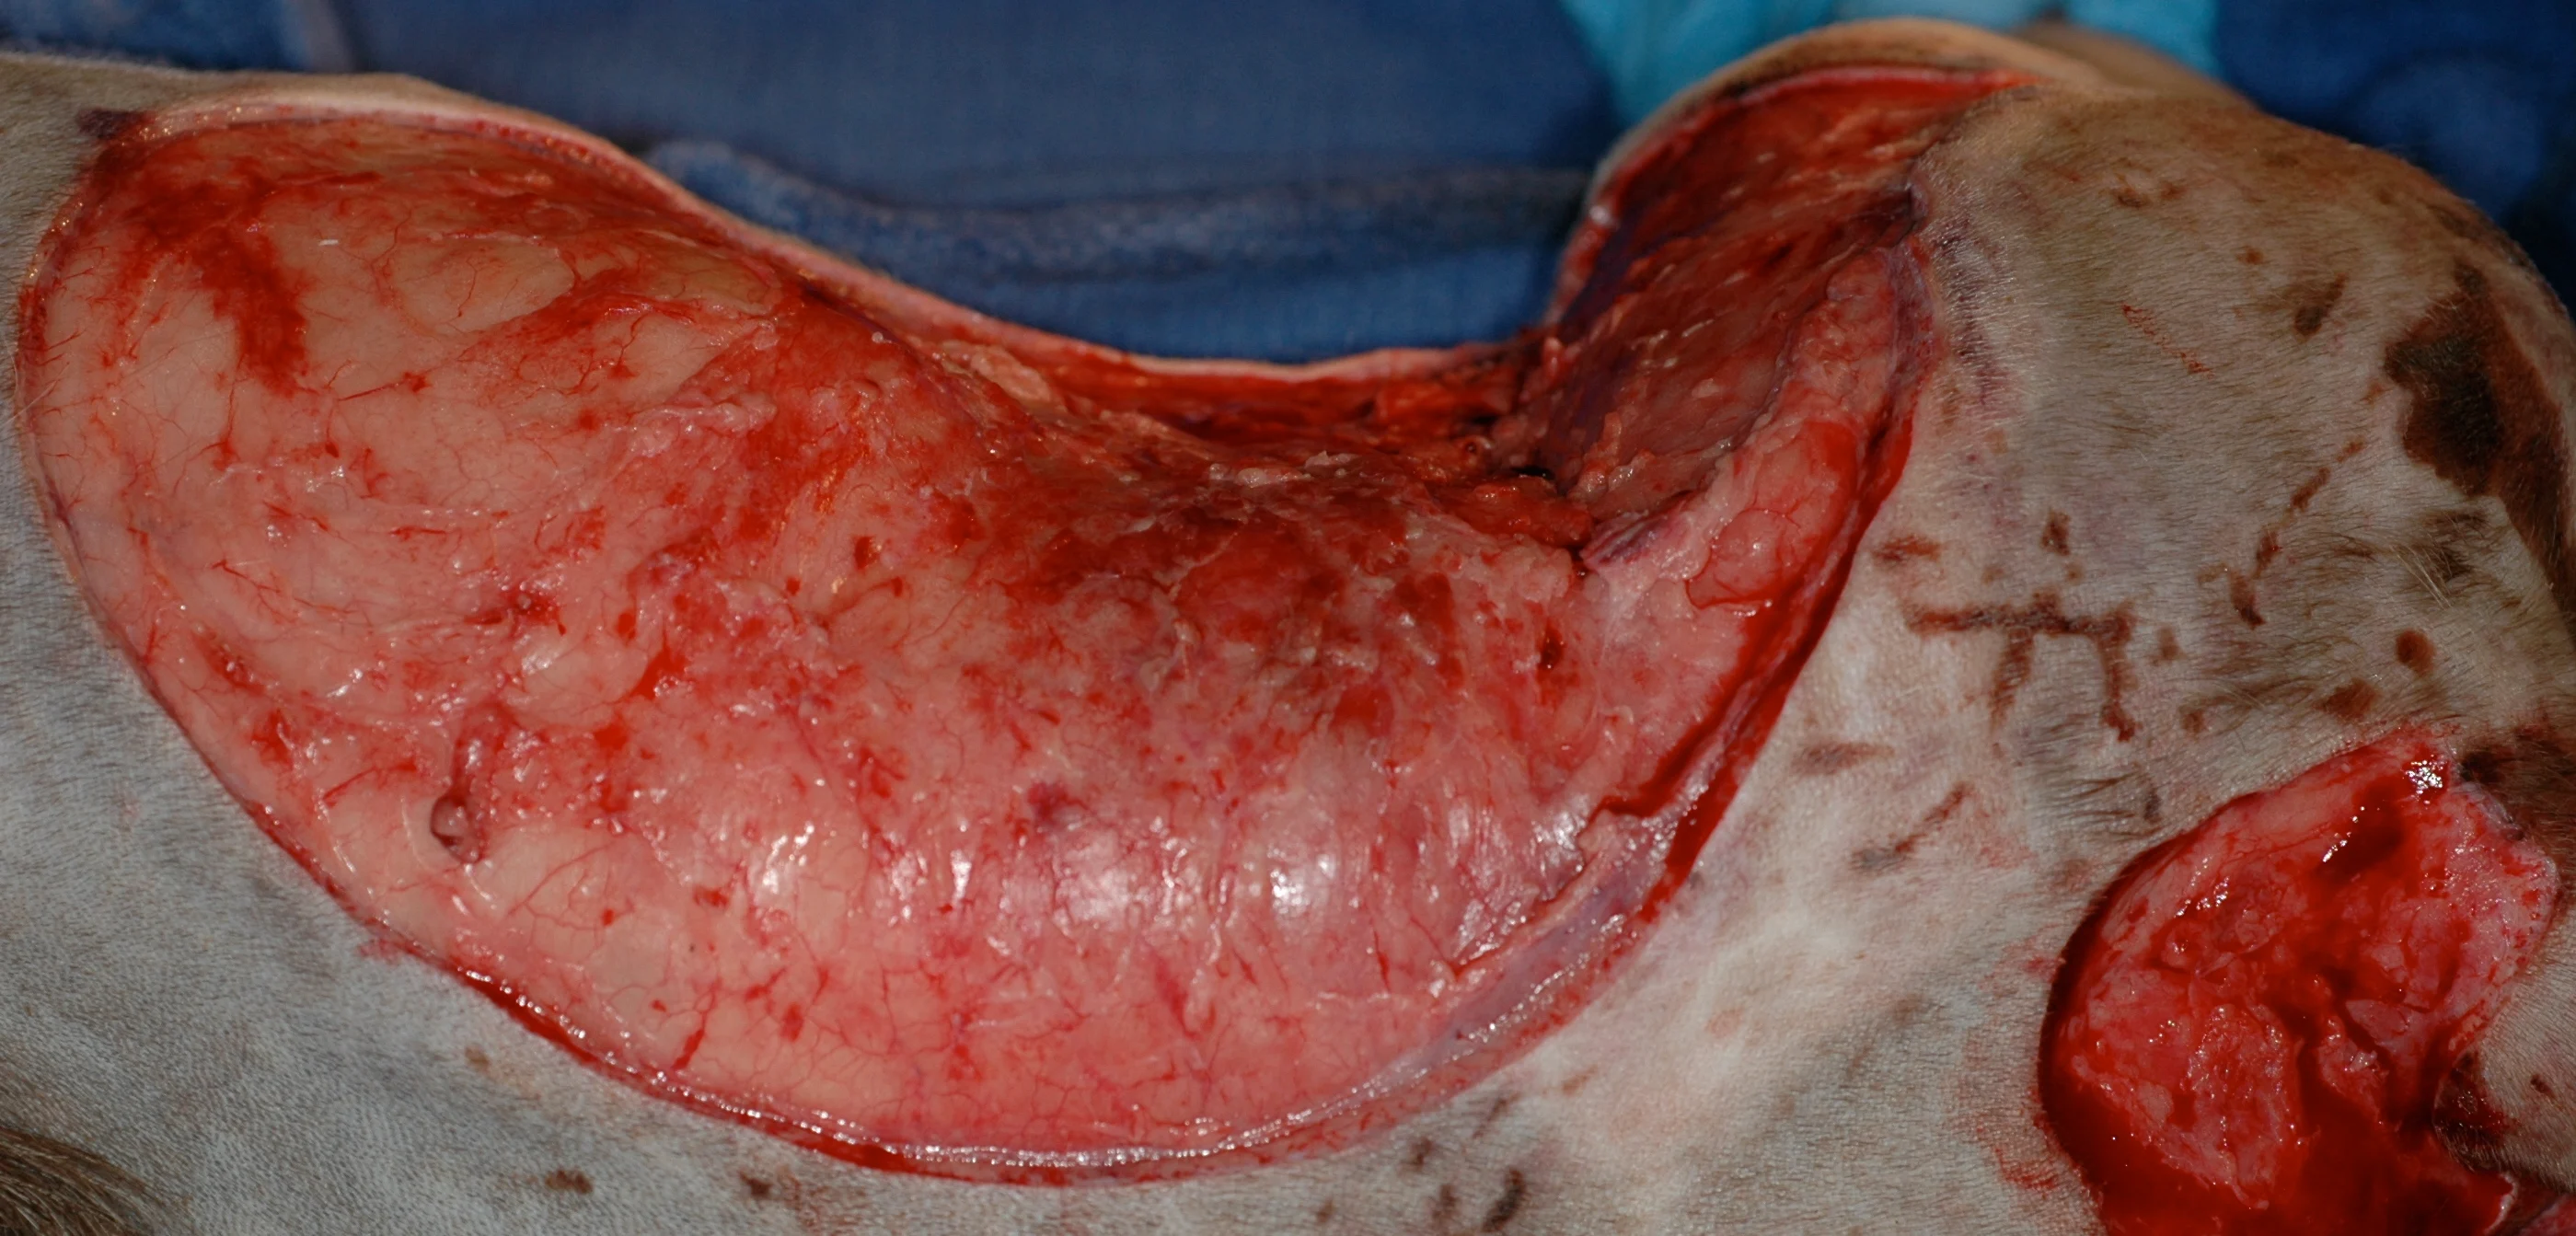
VAC is most efficacious during the proliferative stage of wound healing but can be applied to almost any wound after appropriate debridement. To eliminate a potential nidus for bacterial growth and prevent proliferation of granulation tissue over necrotic tissue, which could result in delayed wound healing and abscess formation, devitalized tissue should be removed before VAC therapy is initiated.
VAC wound care is contraindicated when neoplasia is present at the wound site and should not be used as sole therapy for osteomyelitis. Severe hemorrhage may occur when VAC is used on wounds with exposed arteries or veins, as these vessel walls could erode. VAC should be used with caution in patients with coagulopathies.
The most common pressure setting used in VAC wound care is continuous pressure of –125 mm Hg. When VAC is used to diminish postoperative edema or seroma formation on incision lines, pressure can be reduced to –50 to –75 mm Hg. Application of intermittent negative pressure can improve blood flow and granulation tissue formation but in humans has reportedly caused discomfort.
Frequency of bandage changes is determined by wound characteristics; VAC bandages are typically changed q48–72h, with more frequent changes early in the process to allow appropriate debridement. An airtight seal is essential to maintain continuous negative pressure and prevent wound desiccation.
Complications of VAC wound care are generally minor but can include loss of an airtight seal and local dermatitis associated with removal of the adhesive drape. If multiple VAC bandage changes are necessary, the foam can be removed by cutting the plastic drape and leaving a portion of the drape adhered to the skin. Doing so can decrease skin irritation and may eliminate the need for sedation.
More significant complications can occur if the dressing remains in place >3 to 4 days, as granulation tissue may grow into the open-cell polyurethane foam, requiring surgical debridement to remove foam particles.
Step-by-Step: Vacuum-Assisted Wound Closure
What You Will Need
Sterile water-based lubricant
#40 clipper blade
Sterile gloves
Sterile surgical towels and instruments for surgical debridement
Barrier film (Cavilon, 3M.com), adhesive spray (Vi-Drape, convatec.com), and/or adhesive stoma paste (Stomahesive, convatec.com)
Sterile open-cell polyurethane foam (400–600-μm pore size)
Sterile plastic adhesive drape
T.R.A.C. Pad (KCIanimalhealth.com)
300-mL V.A.C. Freedom Canister (KCIanimalhealth.com)
V.A.C. Freedom for Veterinary Use Therapy Unit (KCIanimalhealth.com)
Spandex body suit, T-shirt, or soft padded bandage
Elizabethan collar or basket muzzle
Step 1
Apply sterile water-soluble lubricant to the wound, clip a wide margin of hair around the wound, and aseptically prepare the wound and surrounding skin. Removal of oils from skin facilitates an airtight seal for the VAC. Debride the wound as needed to remove necrotic tissue, debris, and eschar.

Step 2
After drying the skin at and around the wound edge, apply a barrier film to the skin to prevent adhesive stripping. Adhesive spray may be applied to the skin to improve skin-to-dressing contact.

Step 3
Apply a ring of adhesive stoma paste to the skin 1 to 3 cm from the wound margin, depending on wound size and location. This can promote an airtight seal once the adhesive drape is placed. For smaller patients, apply the stoma paste with a 3-mL syringe to keep the paste line narrow.

Step 4
Cut sterile open-cell polyurethane foam (400–600-µm pore size) to conform to the wound bed. Do not cut the foam over or near the prepared wound bed. Doing so may result in contamination of the wound with foam particles, which can become incorporated into the wound bed with resultant foreign body reaction. Foam should contact all portions of the wound bed, especially the deep margins, but should not be tightly packed into the wound. Foam should not overlap the skin edge unless the skin is protected with a strip of adhesive drape. Excess foam may be saved for future VAC bandages. Silver-impregnated foam may have antimicrobial benefit in infected wounds.
Author Insight
In dogs, topical lidocaine and/or bupivacaine may be applied to the wound bed before foam placement to increase patient comfort when negative pressure is applied. Do not exceed the toxic dose based on patient weight.

Step 5
(A) In the prepared area, cover the foam and surrounding skin with an occlusive plastic adhesive drape. It is critical to avoid any wrinkles in the drape, as they can increase the risk for air leakage and subsequent loss of negative pressure. (B) Smooth the drape manually to ensure it is well adhered to the foam and skin and is wrinkle free.
Note: Sterile technique must be used when working in the wound field.
Author Insight
To prevent stripping and trauma to surrounding skin when multiple bandage changes are planned, the adhesive drape can stay adhered to the skin and the foam removed by cutting the drape at the wound edge. Subsequent adhesive drapes are applied on top of the first.


Step 6
(A) Use sterile scissors to cut a quarter-sized hole in the plastic drape. (B) Center a T.R.A.C. Pad over the hole, and secure its adhesive rim to the plastic drape.
Author Insight
If two wounds are present, the space between the foam covering them can be “bridged” with an additional piece of foam (shown) so that negative pressure can be applied to both wounds. The T.R.A.C. Pad is centered over the foam bridging the two wound beds. Alternatively, two T.R.A.C. Pads can be used (one over each wound), with a Y-connector joining the pads to the suction pump.


Step 7
(A and B) Connect the egress tube to the suction canister tube.


Step 8
(A)
Turn on the suction pump to –125 mm Hg (for an open wound) or as low as –50 mm Hg (over an (B) Aspandex body suit (K9 Topcoat), shirt, or soft padded bandage may be used to cover the wound and protect the integrity of the bandage. An Elizabethan collar should always be used to prevent untimely bandage removal or loss of negative pressure.


Step 9
Change the bandage q2–3days. In this dog with a Clostridium tertium abscess at a dorsal scapular injection site (A), 2 days of VAC therapy decreased the size of the wound by about 30% (B) and reduced the amount of necrotic tissue present.

