Diagnostic Blood Smears
Mark C. Johnson, DVM, Diplomate ACVP, Texas A&M University
Overview
Blood smear evaluation is perhaps the most important yet often overlooked aspect of a point-of-care CBC. With the point-of-care CBC, a blood smear examination is as diagnostically valuable as numerical cell counts. It is thus imperative that a properly prepared diagnostic blood smear be a component of the in-house CBC.
In busy practices, both clinicians and the technical staff may feel that they do not always have the time to prepare and examine blood smears from their patients. However, both clinicians and technicians can easily be trained to make diagnostic blood smears with little time and effort. Mastering a proper blood smear technique enables the clinician to offer additional in-house diagnostic patient care. Even clinicians who do not personally plan to microscopically examine blood smears should not discount the benefits of knowing how to produce a smear. This knowledge is especially handy if, for example, the diagnostic laboratory requests a fresh, unstained blood smear in addition to the original anticoagulated blood sample.
Several techniques have been described-the following step-by-step process illustrates a routine version of the procedure. Remember, the learning process can be frustrating, so practice as much as possible, and the procedure will eventually become second nature.
Getting Started
Before you make the blood smear, have everything you need handy to expedite the process. Smears should be made as soon as possible after blood collection (ideally within an hour) to preserve the quality of the blood cells. Waiting too long to prepare the smear may lead to blood cell deterioration, platelet clumping, excessive erythrocyte sedimentation, and potential loss of blood cell parasites.
Step-by-Step: How to Obtain a Diagnostic Blood Smear
What You Will Need
Anticoagulated blood sample (EDTA preferable)
Plain microhematocrit tubes without anticoagulant
Clean, noncoated microscopic glass slides (frosted end preferable)
Gauze sponges or similar material
Wright or modified Wright cytologic stain, such as Diff Quik
Gloves to avoid exposure to blood proteins (optional but good practice)
Blood tube mixer (optional)
Blood tube rack (optional)
Before handling the blood sample, place two to four (or more if you are practicing) glass slides and one to two microhematocrit tubes on a clean surface for easy availability. It is also a good idea to have gauze and a blood tube rack readily accessible.

Step 1
It is very important to gently mix the blood before making the smear. This can be done manually, by rocking the anticoagulated blood tube back and forth approximately 10 to 20 times while holding the tube between the thumb and index finger. Alternatively, blood tube mixers can be purchased to perform this task.

Step 2
After rocking the sample, remove the rubber stopper from the anticoagulated blood and set it aside. Grasp the now-opened blood tube with one hand and rotate it to about a 45-degree angle from the vertical plane. Place a microhematocrit tube into the sample with your other hand. Try to place the tip of the microhematocrit tube about halfway into the sample, to avoid siphoning blood from the top or bottom of the sample.

Step 3
The blood should automatically fill the microhematocrit tube three quarters of the way by capillary action. If the blood does not seem to be filling the tube, rotate the blood tube to a slightly more horizontal position until the microhematocrit tube fills to the appropriate level. Do not let the blood spill out of the collection tube by overrotating the sample.
Once the microhematocrit tube has filled, place your index finger over the top of the unfilled portion of the tube. Keeping your finger in place, remove the tube from the blood sample. With your free hand, place the tube containing the original blood sample on a rack to prevent spillage. While keeping your finger on the top of the microhematocrit tube, gently wipe excess blood off the outside of the microhematocrit tube with a gauze sponge or similar material. Do not blot the end of the tube with the gauze.
Procedure Pearl
Air-drying may be facilitated by gently waving the slides in the air or by using a hair dryer on a cool setting. Hot air may distort morphologic characteristics of the cell.

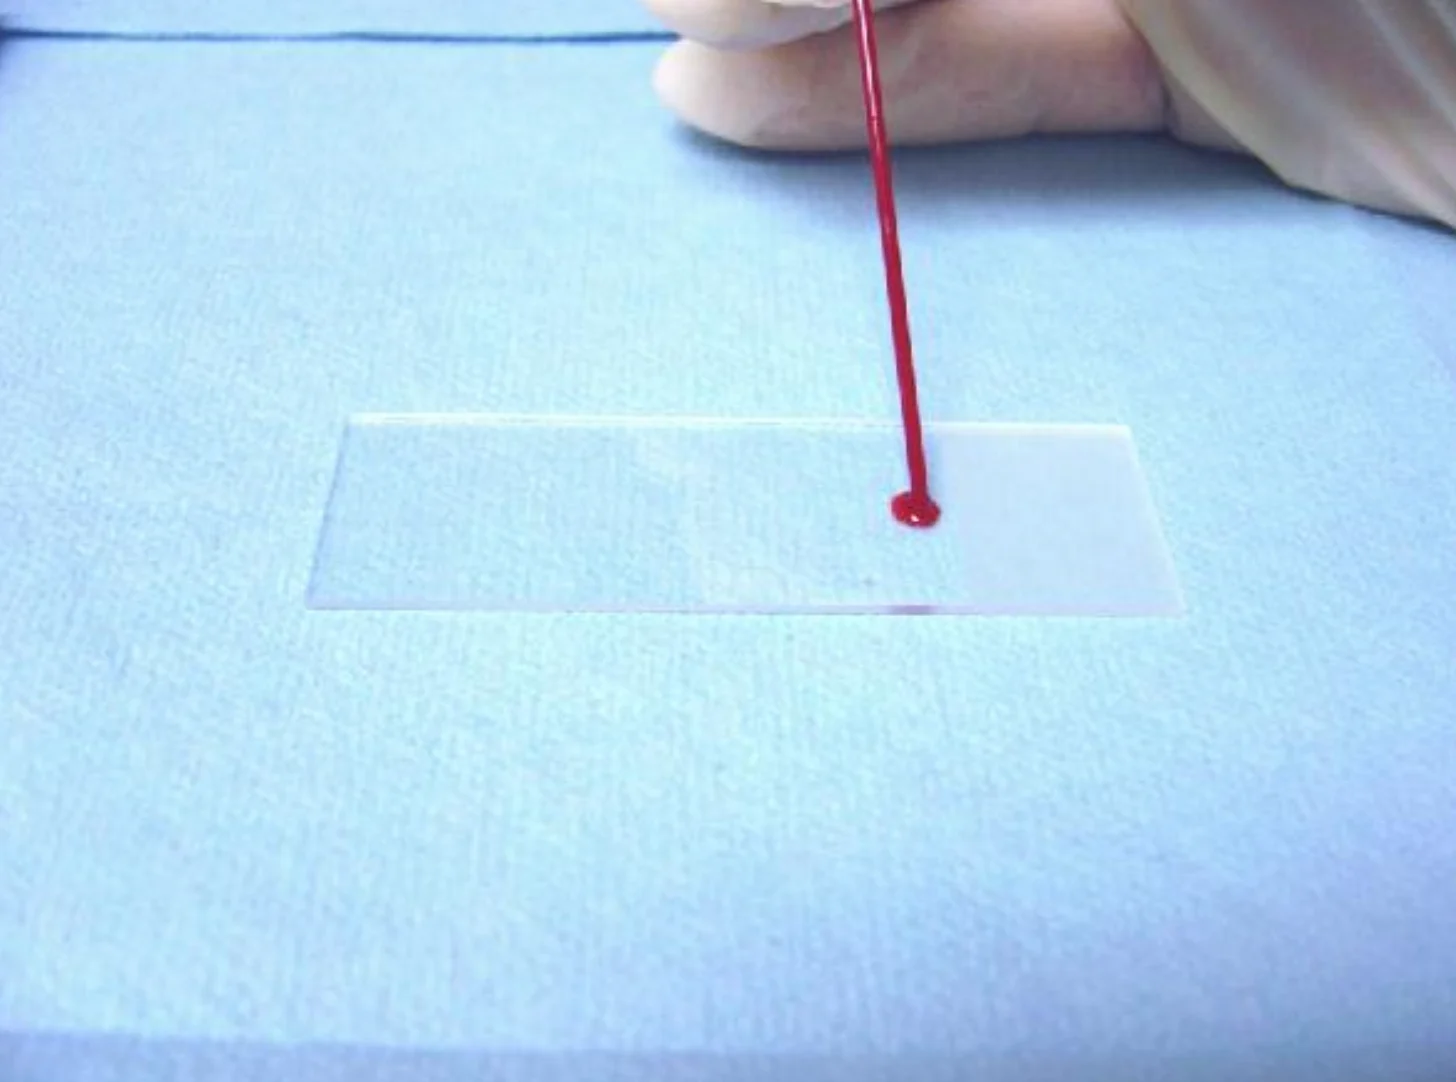
Step 4
Next, apply a small drop of blood near the frosted end of a clean glass slide resting on a clean, flat surface. To accomplish this, remove your index finger from the top of the microhematocrit tube and allow the blood to gently drop on the slide. Try to avoid tapping the slide with the microhematocrit tube to remove the blood drop-tapping may cause activation and clumping of platelets and premature drying of the drop.
Quickly place the microhematocrit tube on its side, preferably on a gauze sponge. Hold the glass slide containing the drop of blood securely with your nondominant hand at the opposite end of the blood drop.

Procedure Pearl
Applying the blood onto the slide is the step that takes practice: A blood drop that is too large leads to a smear that is too thick; a drop that is too small leads to a smear that is too thin. A thick blood smear does not provide an appropriate monolayer (see Figure B) for blood cell evaluation. A thin smear, while not as much of a problem, may cause poor distribution of cells in the monolayer and artifacts in the morphologic characteristics of the erythrocytes. The drop should also be as round as possible.
Step 5
Take a second clean glass slide, called the "pusher" slide, and hold it on both sides (near the frosted end) between your thumb and index finger. Place the opposite end of the slide directly on the slide containing the blood smear, slightly in front of the blood drop. Do not touch the blood drop at this time.
Angle the "pusher" slide to about 30 degrees toward the drop of blood. Slide it back toward the blood drop until the pusher slide contacts the blood. The blood should spread peripherally along the interface of the pusher slide and the blood smear slide until it reaches the edge of both slides.
Next, without changing the angle or allowing any sideways motion, rapidly and smoothly push the "pusher" slide away from the blood drop all the way to the end of the blood drop slide.


Step 6
If done properly, the smear should stop about one half to three quarters of the way down the slide and will be dome- or bullet-shaped. Allow the smear to air-dry completely, then stain with an appropriate cytologic stain according to the manufacturer's instructions. When you are finished, label the slide properly. Dispose of any waste glassware in an appropriate glass biohazard container, and carefully re-cap the blood tube with its original rubber stopper.
Procedure Pearl
Failure to allow smears to dry completely may lead to loss of cells in the staining solutions or creation of water artifact, described as "pitting" changes, in red blood cells.

Compare Your Results
A
Varying the angle of the pusher slide affects the length of the smear. A smaller angle results in a longer smear (i.e., 20 degrees will make the smear longer than 30 degrees). Pushing the pusher slide too slowly or too quickly causes poor smear quality.

B
This technique should produce four areas of evaluation: The initial blood drop, the thicker body of the smear, the monolayer (for blood cell differential and evaluation), and the feathered edge.
