Dental Radiography of the Maxillary 4th Premolar, Simplified
R. Michael Peak, DVM, DAVDC, Tamp Bay Veterinary Specialists, Largo, Florida
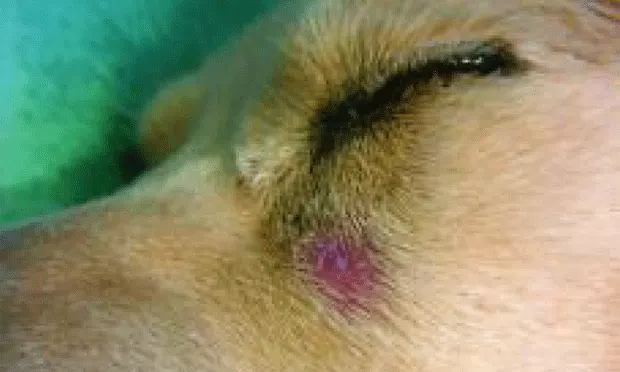
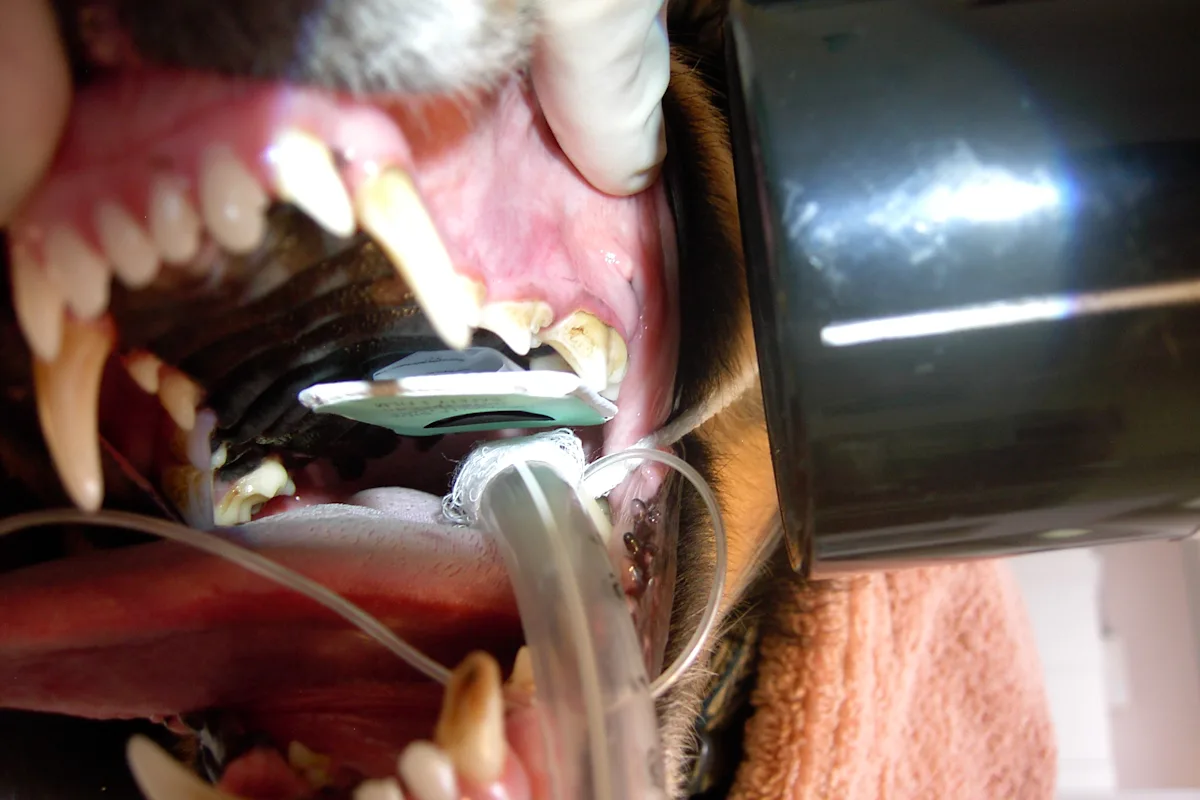
A suborbital swelling or draining tract as seen in this patient would be a good indication for dental radiographs of the maxillary 4th premolar tooth and adjacent teeth.
Dental radiography is rapidly gaining popularity as veterinarians recognize the diagnostic potential, value to clients, and relative ease of use. As with any piece of new equipment, however, there are some trepidation and hurdles to overcome on the way to achieving proper techniques. One of the more challenging concepts for veterinary personnel starting to use dental radiography is the positioning for intraoral radiography of the maxillary carnassial tooth (the maxillary 4th premolar).
Most veterinarians are taught radiography using large cassettes to radiograph the abdomen, chest, and extremities using the parallel technique. This positioning implies that the object to be radiographed is parallel to the film, and the beam of x-radiation is aimed perpendicular to the film and object. This approach works in most cases, but the space available for intraoral radiography is limited. With intraoral radiography, the film (or digital sensor) is placed in the mouth and the x-radiation beam is passed across the tooth/bone to the film-basically casting a shadow of the tooth and bone onto the film. This technique works well in the mandibular premolar and molar regions, but does not work for maxillary dentition because the film cannot be placed exactly parallel to the teeth to be radiographed due to the presence of the hard palate and mucosa.
A common geometric principle incorporated to allow radiography of the maxillary teeth is the bisecting angle technique. Sometimes just the phrase "bisecting angle technique" creates unsettling flashbacks to high school geometry in both veterinarians and technicians. Fortunately, there is an easier way to understand the basic principle of this technique. This series of photographs is intended to provide a visual illustration of positioning the maxillary 4th premolar-one of the most likely candidates for problems when dental radiographs are being taken.
Indications for Dental Radiographs
Periodontal disease: Use to show bone loss around tooth roots
Broken teeth: Look for signs of root tip infection
Discolored teeth: Look at pulp chamber and for signs of root tip infection
Suborbital swellings: Look for root tip infection or cystic teeth
Resorptive lesions: Use to determine if type I or type II resorption has occurred
Oral tumors: Look for bone involvement
Pre- and postextraction: Check to be sure all roots are gone
Missing teeth: Check to be sure there are no missing teeth below the gingiva
Oral surgery: Use to diagnose oral fractures or to determine margins for oral tumor surgery
Full-mouth series: Make sure all teeth, roots, and bone appear healthy-offer this as an elective service for your clients if you are not already doing so
Step-by-Step: How to Take Radiographs of the Maxillary 4th Premolar
Step 1
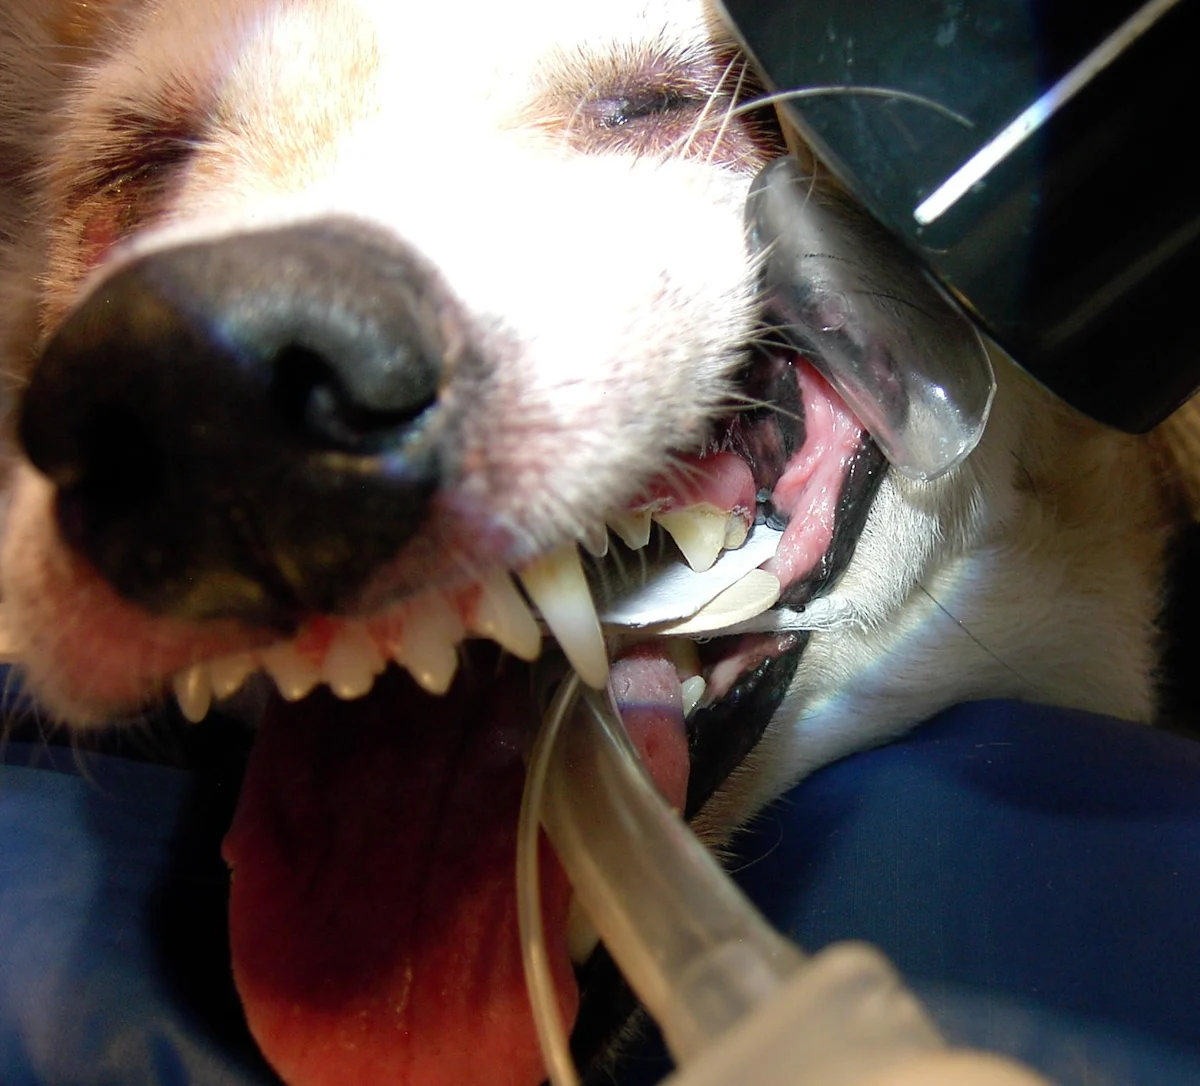
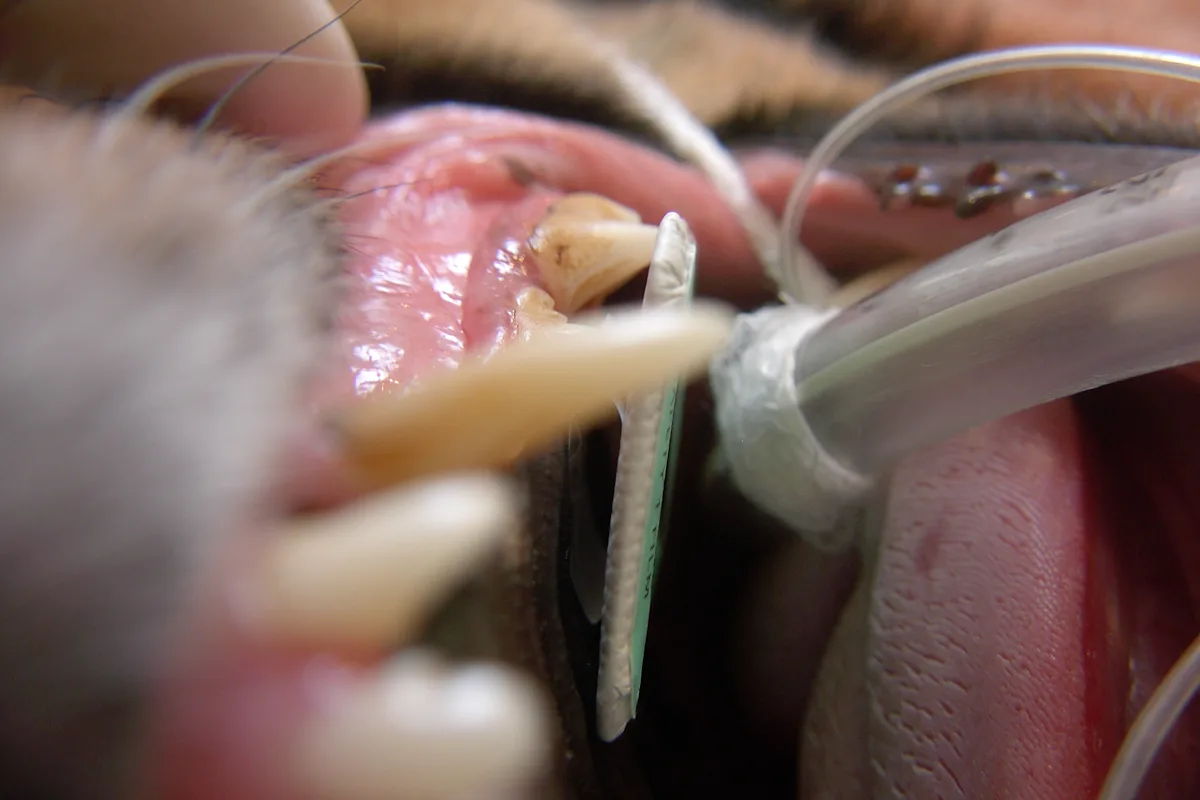
Intraoral positioning of the dental film in the area of the maxillary 4th premolar (A). Note that the dental film cannot be placed parallel to the roots of the maxillary 4th premolar. The plane of the film and the plane of the long axis of the tooth do not create an exact 90-degree angle, so simply placing a dental x-ray machine tubehead at 45 degrees to the long axis of the tooth may or may not create the positioning needed. To simplify the "bisecting angle technique," imagine aligning the x-ray tubehead perpendicular to the long axis of the tooth (ie, aiming it straight at the side of the tooth), then imagine aligning the x-ray tubehead perpendicular to the plane of the film (ie, aiming it straight at the film). At that point, you realign/position the tubehead halfway between these two limits (B). This should enable proper positioning for radiography of the tooth.

Step 2
Positioning the x-ray machine tubehead perpendicular to the long axis of the tooth (A, B) will cast a long "shadow" of the tooth onto the film, creating an elongated radiographic image (C). This image is not diagnostic for the alveolar bone or apexes of the roots, but may be beneficial for a view of the crown alone.

Step 3
Positioning of the x-ray machine tubehead perpendicular to the plane of the dental x-ray film (A, B) would create a foreshortened image of the tooth or roots (B). This image would probably not be diagnostic, but the apex of the palatal root can be seen.
Procedure Pearl
Consider dental radiography technique as being the same as casting a shadow of the tooth and roots onto a film, using the tubehead as your flashlight.


Step 4
Proper positioning of the x-ray machine tubehead (A). Again, it is not directed perpendicular to the long axis of the tooth or perpendicular to the plane of the film, but is instead placed halfway between these two reference alignments (B). This creates a good diagnostic image of the maxillary 4th premolar crown, roots, alveolar bone, and apexes of the roots (C). One limitation is the superimposition of the mesial roots on each other. The clinical significance of this superimposition is arguable.
For example, if periodontal bone loss is noted around one of the roots, periodontal probing should help to determine which root is involved. If periapical osteolysis is noted, then endodontic disease, which would affect all roots, is probably present. There may be instances where using radiographic techniques to separate the mesial roots may be helpful. If one of the roots were undergoing root resorption or ankylosis, this information may be valuable before extraction. Determination of the individual roots is also helpful when navigating the canals during initial assessment for root canal therapy or determination of root canal length.


Step 5
To separate the mesial roots, one option is to move the tubehead posterior and aim the beam anteriorly (A). This will cast the "shadow" of the roots, such that the two mesial roots can be seen individually (B). The root most to the left is the mesiobuccal root, the root in the middle is the palatal (sometimes referred to as the mesiopalatal) root, and the root on the right is the distal root. One limitation is that this technique sometimes results in the superimposition of the mesiobuccal root onto the distal root of the maxillary 3rd premolar.


Step 6
Another technique for separating the two mesial roots of the maxillary 4th premolar is to position the tubehead in the normal position for radiography of the maxillary 4th premolar and, staying in the same plane, move the tubehead slightly anterior, aiming the x-ray beam more in an anterior to posterior direction (A). In this case (B), the root tip most to the left is the palatal (sometimes called the mesiopalatal) root and the middle root is the mesiobuccal root; the distal root is obscured and superimposed over the maxillary 1st molar (thus the limitation of this view).
Procedure Pearl
When positioning for the bisecting angle technique, remember not to position the tubehead either directly perpendicular to the long axis of the tooth to be radiographed or directly perpendicular to the film, but halfway in between.

Step 7
An alternative technique for taking dental radiographs of the maxillary 4th premolar involves placing the patient in sternal recumbency; then positioning the intraoral film in the mouth parallel to the palate/table/floor; then aligning the x-ray tubehead perpendicular to the line that bisects (blue line) the plane of the film and the plane that creates the long axis of the tooth (red lines). This is close to but not always a 45-degree angle to the head when viewed from the rostral-to-caudal position.
Procedure Pearl
A rostral or caudal shift of the tubehead helps to separate the two mesial roots, if such separation is needed.