Blood Smear Preparation
Heather A. Kridel, DVM, DACVP (Clinical), IVG Hospitals by Ethos, Woburn, Massachussetts
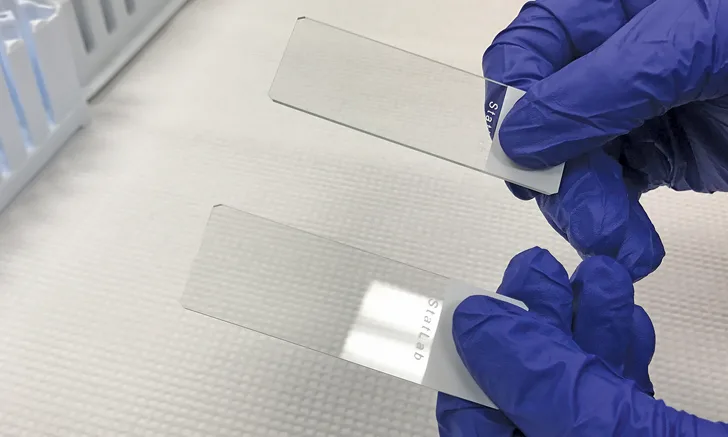
Two clean, high-quality glass microscope slides with frosted ends and free of chipped edges, glass fragments, dust, powder, fingerprints, and other debris
Manual blood smear examination is an important component of complete hematologic evaluation and should always be performed concurrently with automated hematologic analysis. To allow for the most accurate microscopic evaluation, blood smears should be prepared using consistent techniques that help ensure high-quality peripheral blood smear preparations.
Clean, high-quality glass microscope slides are essential to blood smear preparation. Glass slides should be free of chipped edges, glass fragments, dust, powder, fingerprints, and other debris, as these can affect blood spreading. Slides with a frosted end (Figure 1) can be labeled with the date and the patient’s identification information, which should be written with a pencil or water- and solvent-resistant laboratory marker. Traditional ballpoint pens and markers should be avoided, as the ink typically washes off during the staining process. Two clean glass slides should be used as the sample slide and the spreader slide. Slides should be handled by holding the frosted end; touching the short, nonfrosted end of the spreader slide should be avoided.
Blood smears should be prepared using well-mixed EDTA-anticoagulated blood. The sample can be mixed by gently inverting the tube several times before slide preparation. To achieve the appropriate sample volume for spreading (see Step 2), using a microhematocrit capillary tube rather than a pipette to place a drop of the sample on the glass slide is recommended.
Three factors can be altered to achieve the desired blood smear quality: size of the blood drop, angle of the spreader slide, and speed of spreading. If a drop is too small, the smear may not be long enough for adequate diagnostic evaluation; if the drop is too large, the smear may extend beyond the edge of the slide, which can cause clumps of cells to be lost and prevent formation of the feathered edge needed for microscopic evaluation.1 An angle greater than 30° for the spreader slide results in a thicker and shorter preparation, whereas a smaller angle results in a thinner and longer smear. Speed of the spreader slide can also affect smear length and thickness. Fast spreading can result in a shorter or thinner blood smear preparation, whereas slower spreading can result in a longer or thicker preparation.1,2
Related Articles
Blood viscosity also affects slide preparation. For instance, a patient with an increased hematocrit will have increased blood viscosity that can result in a preparation that is too thick. Decreasing the angle of the spreader slide for such cases can help achieve a thinner preparation that is more suitable for microscopic evaluation. Similarly, an anemic patient will have decreased blood viscosity, resulting in a thin preparation. For such cases, increasing the angle of the spreader slide will yield a thicker preparation.1,3
Step-by-Step: Blood Smear Preparation
What You Will Need
Clean, high-quality glass microscope slides with frosted ends
Pencil or laboratory marker
EDTA-anticoagulated blood
Microhematocrit capillary tubes

Step 1
Gently invert the sample several times to ensure adequate mixing of the sample (A and B). Remove the stopper, and fill a capillary tube approximately three-quarters full with blood (C). Place a finger over one end of the capillary tube to prevent the sample from draining out (D).

Step 2
Place a drop of blood on the midline of the sample slide approximately 0.5 cm from the frosted end. Hold the capillary tube over the slide, and remove finger pressure to allow the blood to drip onto the sample slide until the drop of blood is approximately 4 mm in diameter.2

Step 3
The smear should be made immediately after placing the drop of blood on the slide. With the nondominant hand, hold the sample slide in place on the benchtop by gently pressing down on the frosted end. With the dominant hand, grasp the edges of the spreader slide by placing 2 or 3 fingers on one long edge and placing the thumb on the opposite edge. Place the short edge of the spreader slide just in front of the blood drop with the slide at a 30° to 40° angle (A). Draw the edge of the spreader slide back until it meets the blood drop and the blood spreads along the edge of the spreader slide (B), then quickly and smoothly push the blood forward toward the end of the sample slide while maintaining contact of the edge of the spreader slide with the sample slide (C). The blood film should extend approximately three-quarters of the length of the slide and end in a straight or bullet-shaped feathered edge. The smear should have a rainbow sheen when reflecting light and should be without any ridges, lines, or holes.

Author Insight
If the smear extends too close to the end of the slide, the feathered edge portion may remain unstained when processed on some automated stainers. This may be a concern if the sample is being submitted to a reference laboratory for evaluation; however, it should not be problematic for Romanowsky staining and in-house evaluation.
Step 4
Fan the slide back and forth or hold the slide in front of a hair dryer or heat gun on warm setting for a few seconds to facilitate air-drying. Do not use a high heat setting or hold the slide close to the heat source, as this can damage the cells.1
Step 5
Label the slide using a graphite pencil or laboratory marker (A). The label should include the patient name and/or identification number and the date, as well as any additional necessary information. The slide is then ready to be stained for microscopic evaluation. If the sample needs to be submitted to a reference laboratory for evaluation, at least one unstained blood smear should ideally be included with the sample (B).
