Acrylic for Repair of Mandibular Fractures
Alfred G. Stevens, DVM, Sherwood South Animal Hospital, Baton Rouge, Louisiana
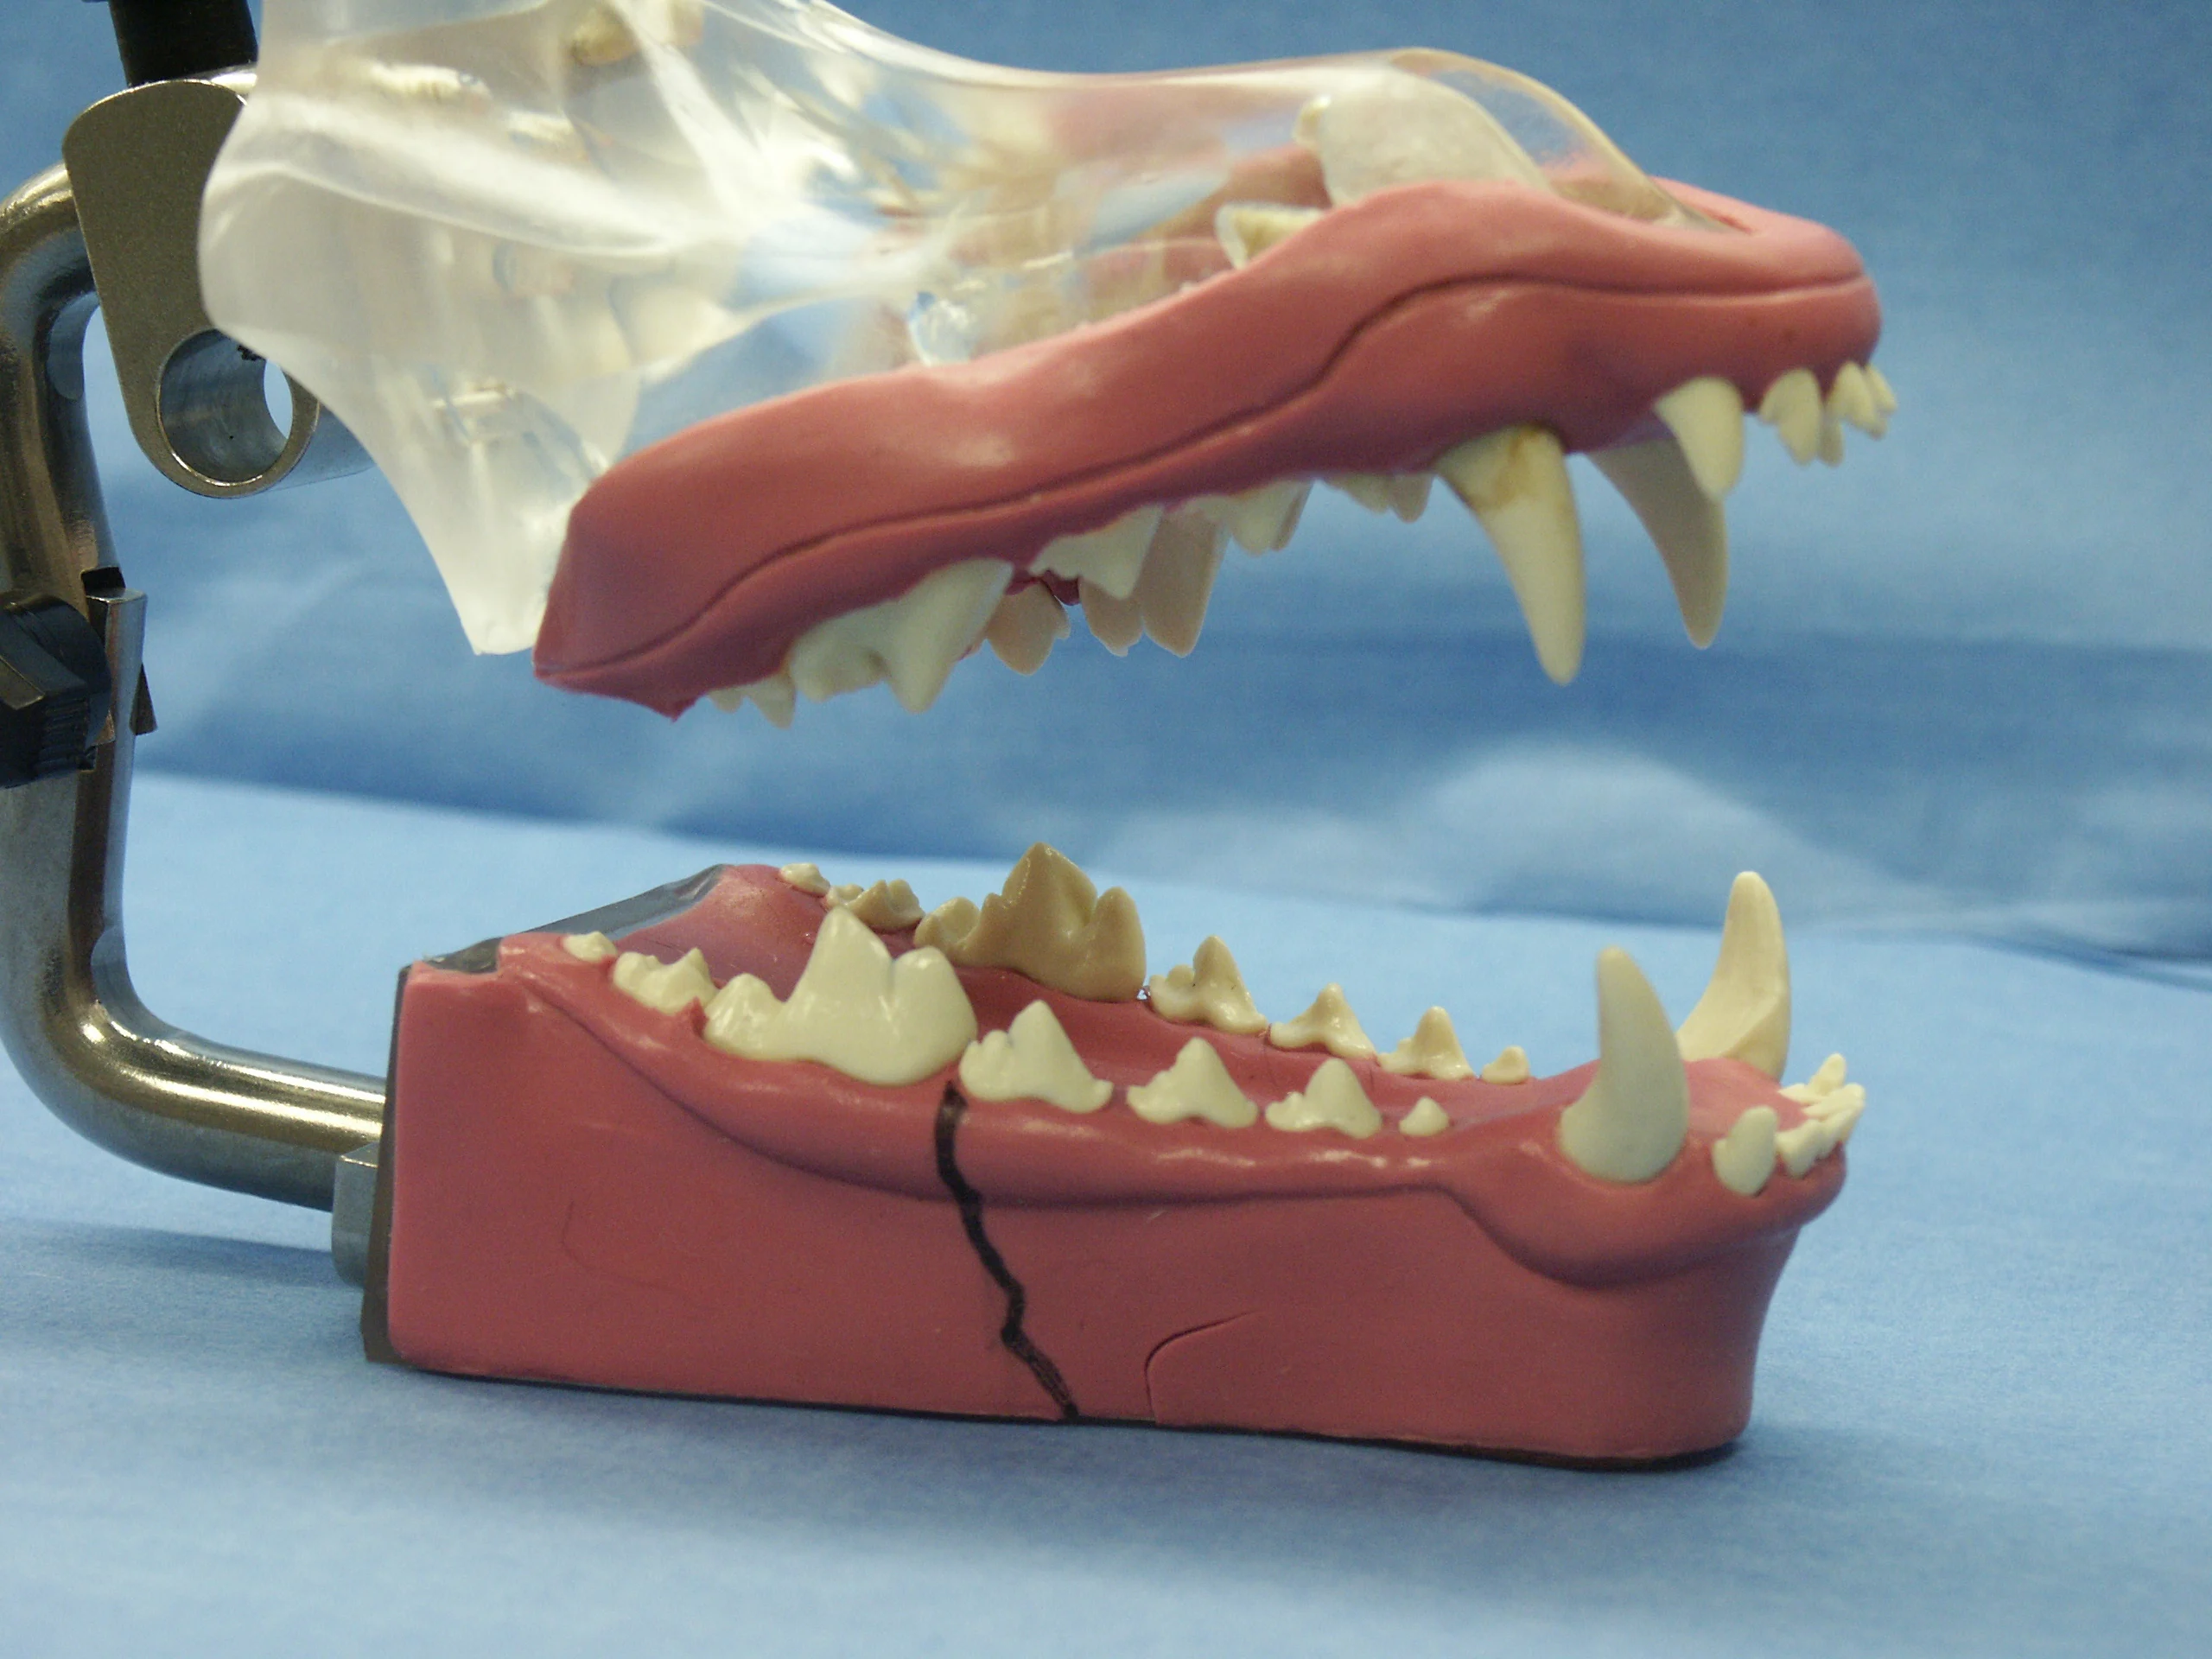
Fractures of the mandible are common after traumatic injury to the skull. These fractures may involve the symphysis, body, ramus, or a combination of these regions. Much has been written about various methods of fixation, but one of the most effective ways to correct these fractures is via a noninvasive technique using dental acrylic. Fabrication of an intraoral acrylic splint spares damage to tooth roots and structures within the mandibular canal, unlike most other repair techniques. Use of acrylic to repair a mandibular body fracture is detailed here, using a model to best present the application techniques necessary for rigid fixation. This method is best used to repair a simple fracture located distal to the canine tooth and mesial to the first molar in which most of the mandibular dentition, especially the first molar, has remained in place (that is, trauma or periodontal disease has not caused loss of dentition). For the purpose of this article, let us assume that the patient has a simple vertical mandibular fracture just mesial (rostral) to the mandibular first molar (carnasial tooth) (Figure A).
The patient's overall condition may necessitate antibiotic therapy before splint application and continuation of this therapy for an appropriate period, which is determined by the extent of damage to bone, soft tissue, and dentition. Pain medication, such as NSAIDs, must be given before the fracture is corrected and for a period of 3 to 7 days thereafter.
Step-by-Step: How to Repair Mandibular Fracture with Acrylic
What You Will Need
K-Y Jelly or Vaseline
Nonfluoride coarse pumice for postprophylactic polishing• 34% to 40% phosphoric acid gel etchant (Figure B)
Acrylic composite (ProTemp 3 Garant-3M ESPE (Figure C), or a similar product). Purchase starter pack initially because it contains the acrylic cartridge, dispensing gun, and mixing tips.
Small bone file or acrylic bur (a size 701L bur in a 1:1 nose cone on a low-speed handpiece)
0.2% chlorhexidine oral rinsing solution


Step 1
After a complete assessment and completion of appropriate preanesthetic blood panels, prepare the patient for anesthesia. Gas anesthesia with a shortened endotracheal tube is suggested so the tube can be temporarily disconnected and pushed back into the oral cavity while occlusion is verified and the acrylic is setting. Some practitioners may wish to use an injectable anesthetic agent.
Step 2
Take radiographs of the fracture site using standard radiographic equipment (with or without dental film) or preferably take dental radiographs using no. 4 (occlusal) or no. 2 dental film to evaluate the fracture.
Step 3
Suture, clean, and polish. Suturing of soft tissue lacerations is completed and followed by dental cleaning, polishing with a nonfluoride coarse pumice (coarse pumice provides for a rougher enamel surface, thereby improving retention of the acrylic), and rinsing the oral cavity. Any teeth in the line of fracture should be left in place as they may be necessary for stabilization, but once the intraoral acrylic splint is removed, damaged teeth must be extracted or treated by endodontics (the latter case may require an outside referral).
Step 4
Etch the enamel. Once the oral cavity is rinsed and dried, etch the mandibular teeth on the fracture side with a 34% to 40% phosphoric acid gel. Acid etching creates microscopic pores on the enamel surface, thereby providing a better surface area for the acrylic to adhere. Apply the phosphoric acid with a brush or a blunt syringe tip as provided by the manufacturer to the crowns of the premolars and first molar. Apply the acid primarily to the buccal aspect of the crowns, and try to prevent the acid from touching the gingival tissues. Etching the teeth on both the buccal and the lingual sides may make the acrylic more difficult to remove since it adheres well to etched enamel. Let the acid remain in contact with the enamel for 30 to 60 seconds then thoroughly wash it off, making sure not to leave any on the mucosal membranes. The enamel will appear chalky-white or frosted after rinsing and air-drying. Do not allow saliva or fingers to touch the etched enamel because such contact reduces the ability of the acrylic to bond to the enamel.

Procedure Pearl
After etching, avoid contact between the etched enamel and fingers or saliva because such contact reduces the ability of acrylic to bond to enamel.
Step 5
Apply the lubricant. With an assistant holding the lips away from the mandibular dentition, thoroughly apply K-Y Jelly or Vaseline to the opposing maxillary dentition to prevent the acrylic from adhering to the maxillary teeth when the mouth is closed during the check for proper alignment. Do not allow the lubricant to touch the etched teeth.

Procedure Pearl
Dispensing the acrylic composite onto the incisal surfaces of the mandibular teeth must be done within 15 to 20 seconds because the fracture must be reduced and the mouth closed within 30 to 45 seconds.
Step 6
Apply the acrylic composite. Rolling the tongue back into the oral cavity allows a clearer field of view. Dispense a liberal amount of the acrylic composite onto the incisal surfaces of the mandibular teeth that are to be part of the splint; this must be done within 15 to 20 seconds. The base and catalyst pastes are dispensed and automatically mixed from the dispenser through the mixing tip. Immediately after applying the acrylic, reduce the fracture by digital pressure then close the mouth with all teeth in proper alignment according to the type of breed. Allow the lips to lay in proper position since the material sets faster in a warmer environment. The acrylic is completely set within 1.5 to 2.5 minutes. Do not wait longer than 30 to 45 seconds to close the mouth, because the acrylic will have begun to harden and the maxillary teeth will not be able to penetrate the material for proper interdigitation. If this happens, remove the acrylic and start over.


Procedure Pearl
If additional stability is needed or if the fracture is more distal, stainless steel wire can be incorporated into the acrylic splint.
For Additional Stability of the Splint
If additional stability is needed for the splint or if the fracture is more distal, stainless steel wire (24 or 26 gauge) can be incorporated into the acrylic splint by the following technique
Insert an 18-gauge needle through the skin in a dorsal approach starting at the ventral edge of the mandible and directing the needle along the buccal side of the mandibular body until the needle tip exits into the oral cavity.
Pass the wire through the hub of the needle and out into the oral cavity. Loop the wire over the mandible (be sure to leave approximately 1 cm of looped wire exposed above the gingiva or dentition), then pull the needle out ventrally.
Reinsert the needle through the same hole in the skin, and this time pass the needle along the lingual side of the mandible until it exits orally. Slide the end of the wire that lies within the oral cavity inside the tip of the needle then pull the needle and wire out ventrally.
Repeat this process several more times along the mandible if needed. One to two minutes after the acrylic has been applied, gently pull on the two wire ends exiting the mandible to incorporate the wire loop with the intraoral splint.
Once the acrylic has hardened, tighten the wire ends by twisting, and cut off the excess. A small button of acrylic can be applied to the twisted wire ends to eliminate any sharp projection. To further strengthen the splint (especially in larger dogs), an intramedullary pin can be placed along the lingual aspect of the mandible and incorporated within the Protemp 3 acrylic.
Step 7
Open the mouth, and fill any voids. The oral cavity can be opened after 2.5 minutes, but maintain digital fracture reduction for several more minutes. Rinse off all lubricant, and air-dry the acrylic splint. Replace the mixing tip, and fill any voids with additional acrylic. This product bonds to itself in a clean, dry environment. Close the mouth, and hold for a few minutes to maintain proper alignment.

Procedure Pearl
Owners must be instructed to withhold chews and hard food, brush the teeth, and rinse using a 12% chlorhexidine solution.
Step 8
Remove or smooth rough edges. The acrylic is ready to smooth within 5 minutes of application. Eliminate any rough or sharp edges with an acrylic bur or a bone file (if a bone file or rasp is used, filing must be done gently and slowly to avoid dislodging the splint). The use of moistened gauze pads in the oral cavity before the sanding-filing procedure aids in particulate removal. Thoroughly rinse the mouth with water, and take a radiograph to determine whether the fracture is properly aligned. The application of OraVET (Merial), a waxy barrier sealant, to the rest of the dentition at this time can aid in maintaining oral health by reducing the accumulation of plaque. Refer to the product guide by Merial for the proper application and long-term home use of this product.


Step 9
Splint Removal. Within the appropriate healing time (usually 3 to 12 weeks depending on the pet's age) and after radiographic documentation of healing has been obtained, the splint can be removed. Reanesthetize the patient, and using an appropriate dental cutting bur (crosscut taper fissure) or other cutting device (e.g., Dremel tool, hacksaw blade) partially section the splint at 3 to 4 interdental spaces. The acrylic sections can be removed with the aid of a dental elevator/luxator or any similar device (slot-head screw driver) by wedging the end of the luxator into the crevice created by the bur and applying torque to the handle. Finally, scale and polish all the teeth.


Postprocedural Home Care
Dispense appropriate antibiotics and oral 0.12% chlorhexidine rinsing solutions with instructions for home care. Additives to the drinking water, such as BreathaLyser or Oxyfresh, can also be used to control oral bacteria. Additional home care includes feeding soft food, withholding chew toys or hard treats, brushing the teeth, and rinsing the oral cavity two to three times daily. An Elizabethan collar may be necessary for several days until the patient becomes accustomed to the oral splint. Weekly rechecks are highly recommended to assess the stability and integrity of the splint.