Flank Approach for Neutering Female Cats
João Martins, DVM, MS, PhD, Lusófona University Lisbon, Portugal
Liege Martins, DVM, MS, PhD, Lusófona University Lisbon, Portugal
Tânia Coelho, VN, PGDip, Lusófona University Lisbon, Portugal
Daniela Pancrácio, VN, Lusófona University Lisbon, Portugal
Sónia Campos, DVM, MS, PhD, ECVAA Board Eligible, Lusófona University Lisbon, Portugal
Sterilization of female cats is a common procedure that is key for population control and offers additional health benefits (eg, reducing risk for mammary tumors and pyometra).1,2 Both the ventral midline and flank approaches are well-established techniques for feline ovariohysterectomy and ovariectomy, with substantial literature supporting the safety and efficacy of each.3-6
Although the ventral abdominal approach is more commonly used, the flank approach provides distinct advantages that can be particularly beneficial in situations in which a midline incision may be less desirable (eg, patient with mammary development, patient with dermal disease along the ventral abdomen). Learning the flank approach can broaden surgical options and improve case-specific decision-making.
Advantages of the Flank Approach
The flank approach is quick, simple, and cost-effective and provides excellent access to and visualization of the reproductive tract through a small incision.4 Additional advantages include less bleeding, less likelihood of wound inflammation or infection, and lower risk for wound dehiscence and evisceration compared with the ventral midline approach.7,8 The flank approach may be preferred in patients with excessive mammary gland development due to lactation or mammary gland hyperplasia because the ventral approach can produce leakage from mammary tissue.9
A small incision and absence of the weight of the abdominal organs on the lateral abdominal wall reduces the risk for wound dehiscence and evisceration and facilitates postoperative control from a distance, which can be important in feral or stray patients.9
Disadvantages of the Flank Approach
With the flank approach, visualization of the abdominal cavity is limited, which can be a concern if complications occur.8 The flank approach is contraindicated in obese cats because higher body weight or BCS increase difficulty in accessing the ovary contralateral to the abdominal incision.9 Other contraindications include pregnancy, pyometra, estrus, and patients <12 weeks of age.9 Visible imperfections in hair color regrowth are possible.9 Patient selection is important, and associated risks should be communicated to pet owners.
Step-by-Step: Flank Approach for Neutering Female Cats
What You Will Need
Clippers
Marker (optional)
Standard general surgery pack with needle holders, scalpel handle (No. 3), and scalpel blade (No. 15)
Metzenbaum scissors
Mayo scissors
DeBakey thumb forceps
Straight and curved Halsted mosquito forceps
Spay hook
Sterile drapes
2-0 absorbable monofilament suture
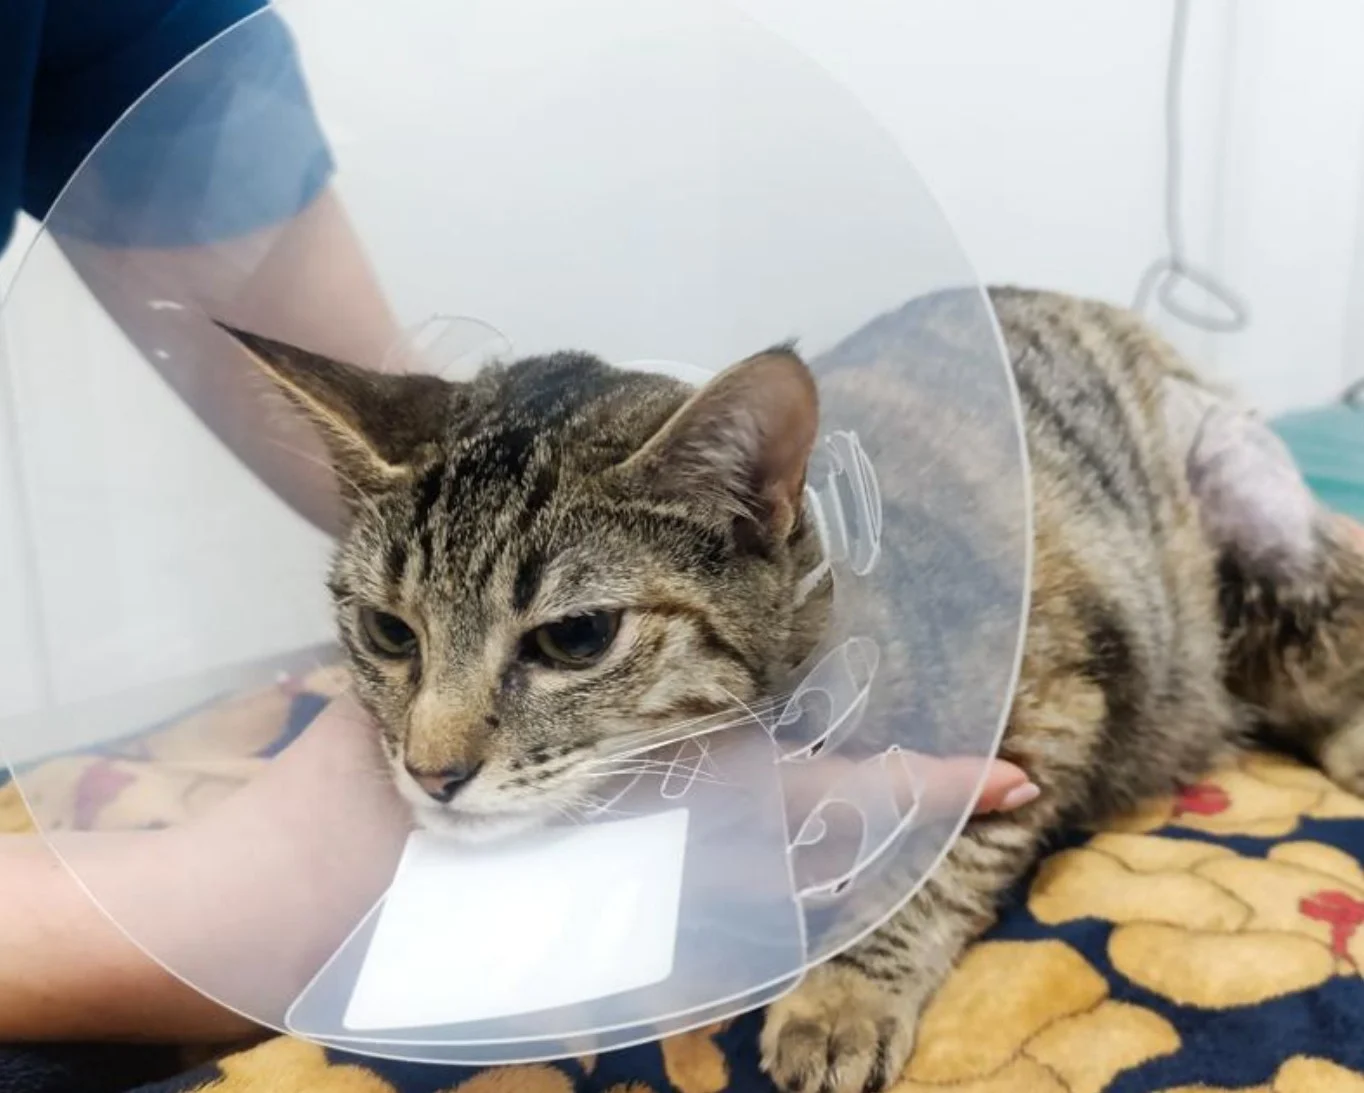
Elizabethan collar
Sterile gauze


To control intraoperative nociceptive responses and postoperative pain, locoregional anesthesia techniques with local anesthetics (eg, incisional block, transversus abdominis plane [TAP] block, bilateral quadratus lumborum block, bilateral paravertebral block, intra-abdominal splash block, sacrococcygeal neuraxial block) can be used.
Step 1: Prepare the Patient
Clip the hair over the left flank from the iliac crest until just cranial to the last rib and from the transverse process of the lumbar vertebra to the flank fold.9
Place the patient in right lateral recumbency with the pelvic limbs extended caudally.
Author Insight
No advantage to either the right or left lateral approach has been reported, but the left lateral approach may be preferred for right-handed practitioners.9
Step 2: Visualize the Incision Point
Using a marker, make an equilateral triangle with vertices at the greater trochanter, wing of the ilium, and midpoint of the proposed incision, and apply the sterile drapes.


Image generated with ChatGPT: Academic GPT
Step 3: Enter the Abdominal Cavity
Make a 1- to 2-cm incision with a No. 15 scalpel blade. Using Metzenbaum scissors and DeBakey thumb forceps, incise the subcutaneous fat and external aponeurosis, and incise or bluntly dissect the muscle fibers of the internal and transverse abdominal oblique muscles and peritoneum.


Author Insight
When incising the muscle layers to enter the abdomen, elevating the muscle with DeBakey thumb forceps can help to avoid damage to the abdominal viscera.
Step 4: Ligate the Ovarian Pedicle
Identify and exteriorize the left uterine horn and ovary via digital palpation or a spay hook.
Create a hole in the mesovarium, then place 1 straight and 1 curved Halsted mosquito forcep across the ovarian pedicle ≈1-cm dorsal to the ovary. Apply 2 ligatures using a 2-0 absorbable monofilament suture on the ovarian pedicle, which should then be transected between the hemostats.

Author Insight
A spay hook can be useful for externalizing the reproductive organs through small incisions.
Step 5: Ligate the Ovarian Pedicle on the Contralateral Ovary
After identification and exteriorization of the right uterine horn and ovary, create a hole in the mesovarium, then place 1 straight and 1 curved Halsted mosquito forcep across the ovarian pedicle ≈1-cm dorsal to the ovary. Apply 2 ligatures using a 2-0 absorbable monofilament suture on the ovarian pedicle, which should then be transected between the hemostats.

Author Insight
Following the path from the left uterine horn to the uterine body will help to more easily identify the right uterine horn and ovary.
Step 6: Remove the Uterine Horns
Bluntly dissect the broad ligaments to exteriorize the uterine horns, and place 1 straight and 1 curved Halsted mosquito forcep proximally to the cervix. Use 1 encircling ligature and a transfixing ligature in the uterine body, with the uterus transected between the hemostats.

Author Insight
If pronounced development of the broad ligament vasculature is noted, ligation may be necessary.
Step 7: Close the Incision
Close the muscle layers and the subcutaneous tissue using absorbable monofilament suture in a simple continuous pattern. Close the skin using absorbable monofilament suture in a simple continuous intradermal pattern.

Step 8: Provide Postoperative Care
Place an Elizabethan collar.

Author Insight
Postoperative pain can typically be managed with NSAIDs for 3 days.
Podcast: Did Spay/Neuter Conversations Get More Complicated?
Beth Molleson, DVM, and Katie Berlin, DVM, share their reactions to WSAVA’s updated Guidelines for the Control of Reproduction in Dogs and Cats and the continually evolving conversation about the appropriate timing of spay/neuter, which includes the suggestion that it might be better for some patients not to be spayed or neutered at all. Listen here.